
Summary of the tips and ideas that came out of the Print Q&A, Monday 13 March 2023
(Click here: Printer-friendly version)
How do you choose which image to print?
- Given that a print is a physical item it’s often our favourite and best images that we take the time and trouble over to print and present.
- Some images project less well as a digital than they would as a print. If an image has dark areas and assuming there is some detail, often this can be brought out more readily in a print whereas as in a digital those areas can be lost when projected.
- All images whether printed or digital need to avoid the things that annoy judges, but with prints even greater care must be taken.
- Some people choose images to print because they could imagine it being on their wall, perhaps of a special place or memory.
- Many do test prints of the images usually in a smaller size say 4 x 6” on one large sheet to gauge whether it would look good as a print and also what adjustments would be needed to further improve it.
- Others, given that the larger prints are usually around £1.50 including VAT order up to 30 at one time just to see what images works and what don’t. Often the costly part of external printing is postage at around £6. So it makes sense to organise prints well in advance or even team up with others.
Whether the image is to be printed at home or externally, how do you prepare the image for printing
- There was a discussion about the fact that as images on the screen are back-lit, as opposed to prints which are front-lit, then some adjustment to make the image brighter might be needed to compensate.
- There were a couple of suggestions about how to calibrate your screen display to the print (whether at home or external). One was to do a print and then compare it to your screen. If the print comes out too dark than you know that the image has to be brightened before it is printed.
- You can refine that process by doing a number of test prints of the same image, but all with slight variations, so you can tell which is which, and adjust the brightening or other adjustment incrementally for each.
- It was generally accepted that, even with this refinement there was always a degree of trial and error!!!
- Some tried downloading a colour profile from the external printer company, but had limited success.
- Those who printed externally used Simlab or DS Colour Labs
- Most people found it helpful to print the image, whether at home or externally, leaving a white border, which could then sit behind the aperture on the mount board.
Printing at home or externally?
- Those who printed at home agreed that generally it was a more expensive process, given the initial outlay of the printer and the inks. People had had mixed success using compatible inks.
- But it did give immediate results and a chance to tweak without having to wait a couple of days and it was a very satisfying process when it worked!
- It also meant you could use a variety of papers, more readily.
- Printing, externally was a slower process, but still great to see the images come through within a couple of days. It was also a relatively good way of starting printing without the investment.
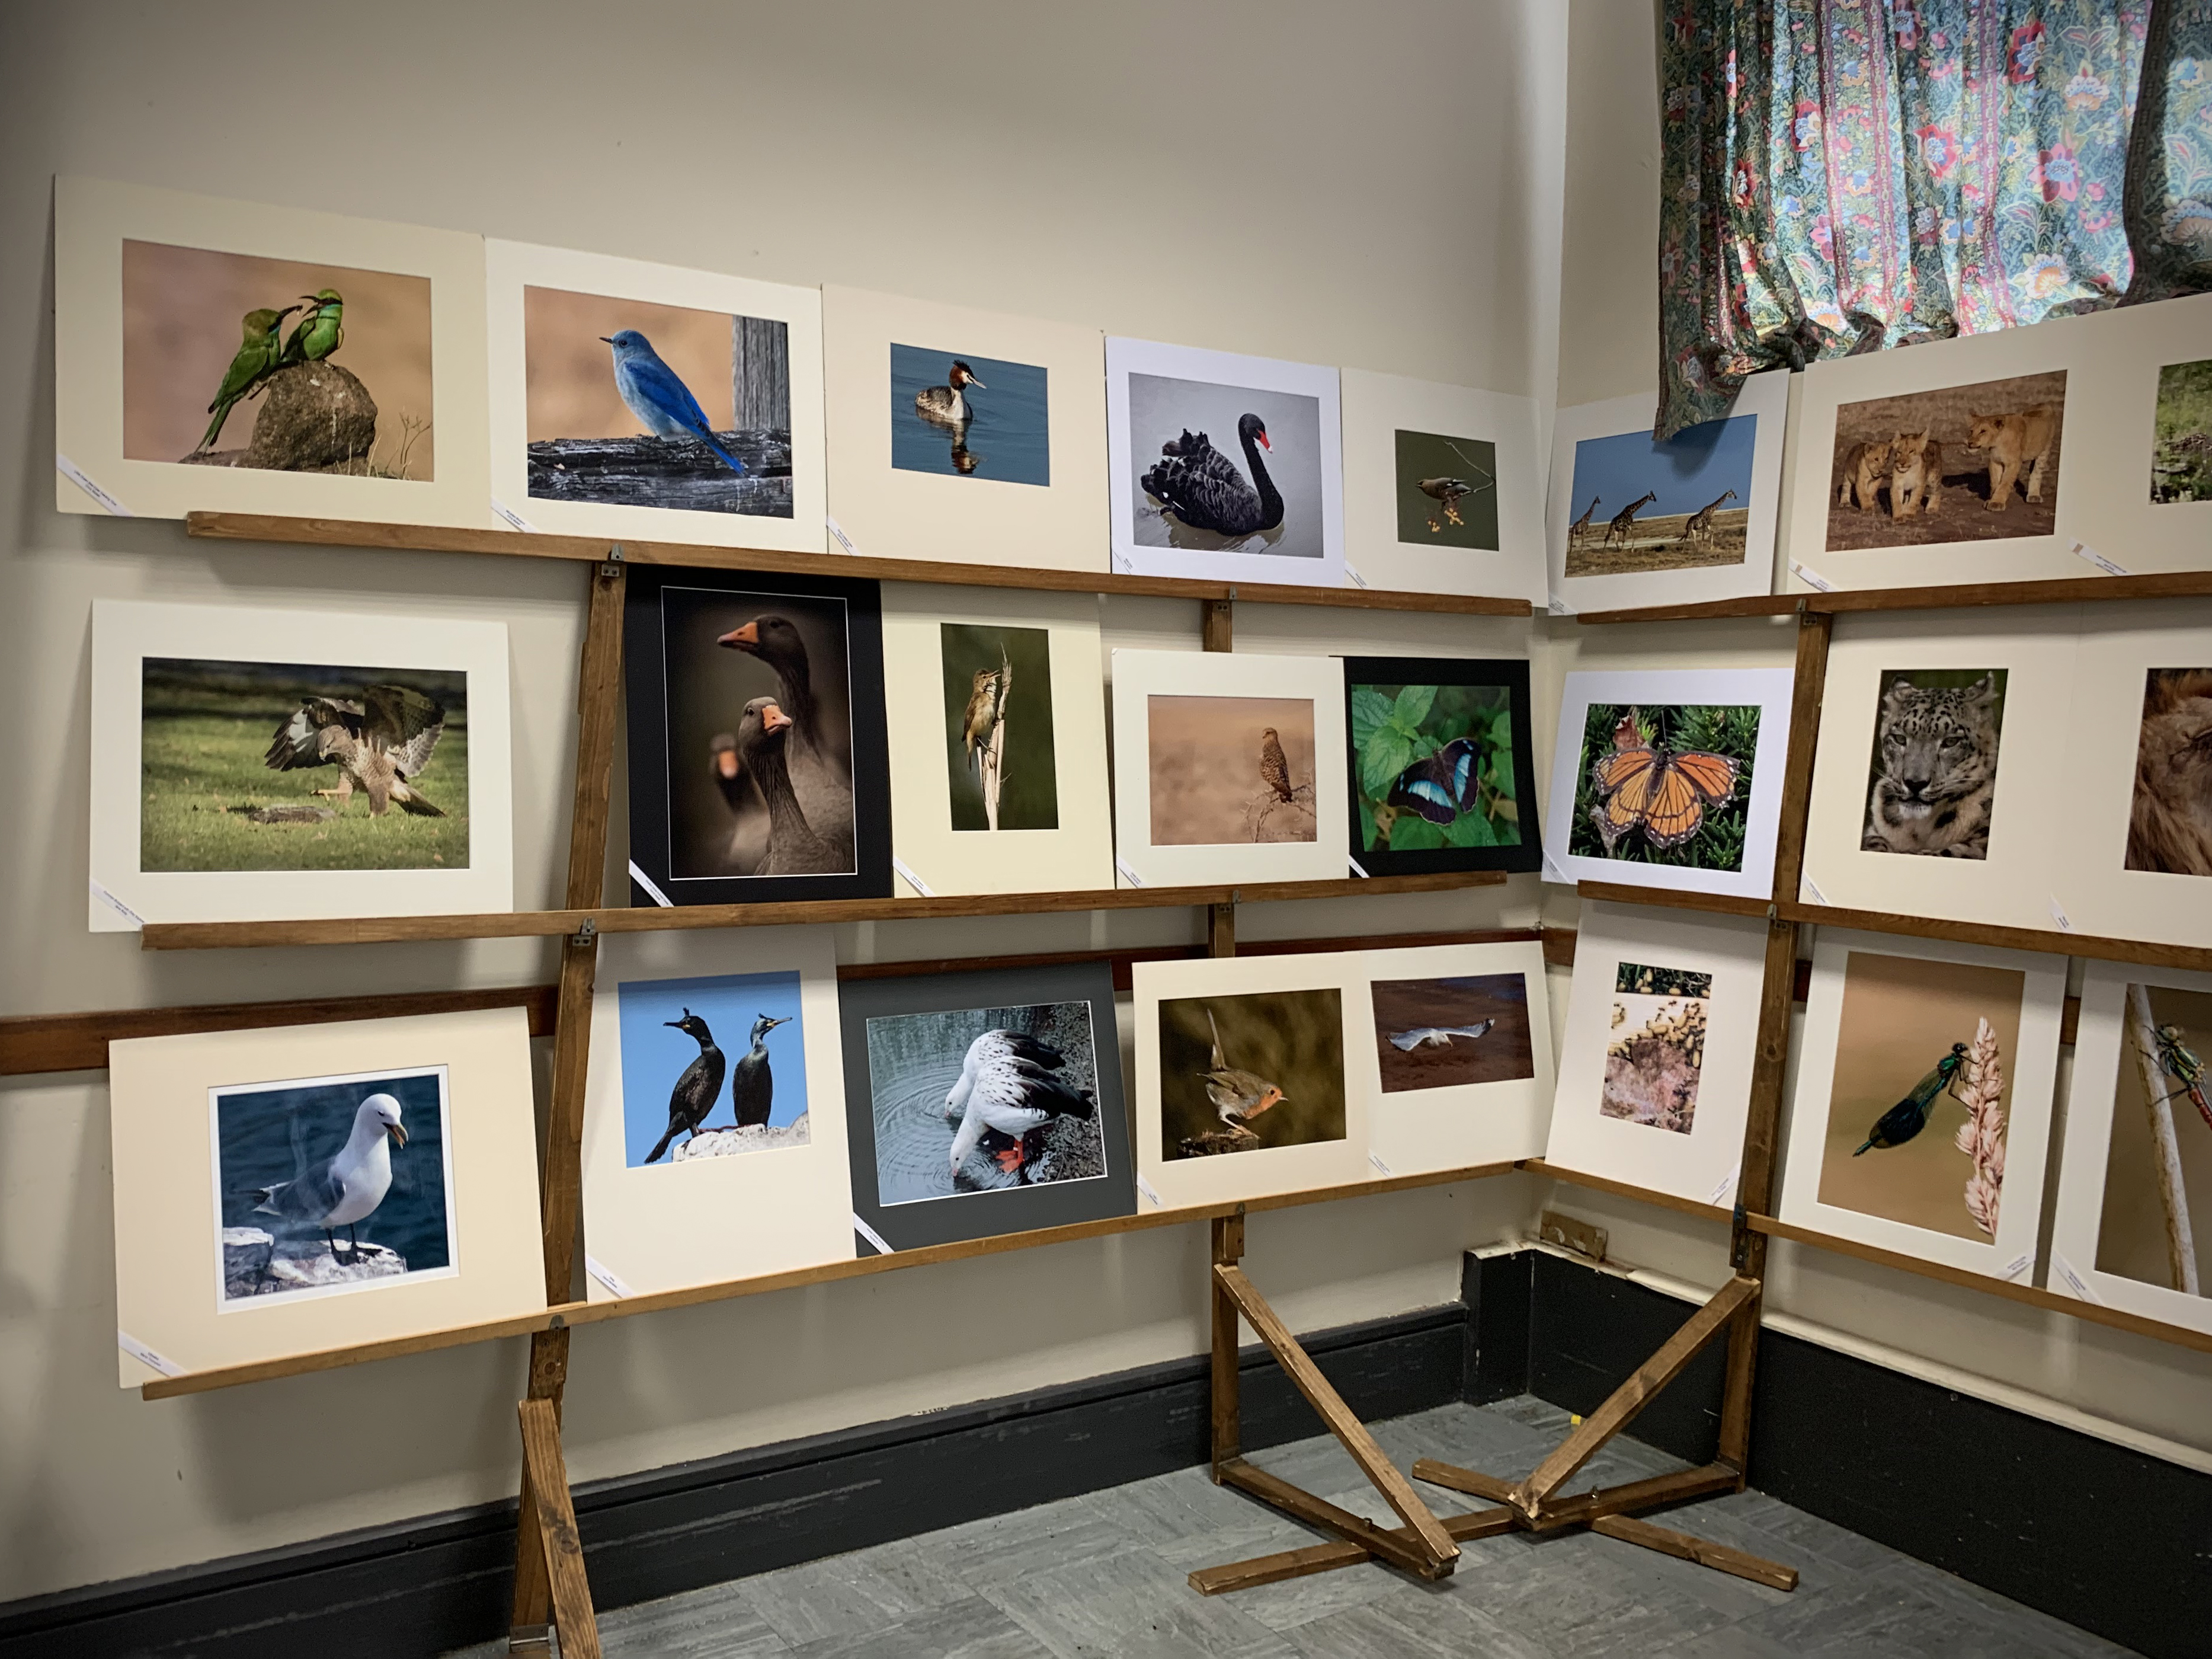
How do you present your print?
- Most agreed that the best presentation was a mount board with the window cut out. Then the image sandwiched between the mount and a backing sheet which could be another mount board or preferably and more cheaply card big enough to cover the print. Best not to use masking tape but buy print framing tape.
- You can surface mount your print onto the mount board which is quicker than cutting an aperture but judges aren’t always keen and the print edge can get damaged if its rubbing up against other mount boards.
What about mount boards and how do you cut the windows?
- Some members prefer to buy the mount boards pre-cut to the 500 x 400 mm size, than cut down a larger board. Potential suppliers are Lion, Permajet. You always need more than you think because cutting mistakes happen!
- As to the colour of mount boards, most judges prefer a neutral mount. So, choosing a colour is quite a brave option! Even with black some judges are less keen, unless it’s mono.
- You can buy mount boards with precut apertures but then the images have to be cropped to fit.
- If you prefer or need to cut your own this is preferably done using a special mount board cutter. There are options available for most budgets. But it does take practice and sharp blades! The window cut needs to be at least 2mm smaller than the actual print otherwise the white border will be seen and while judges should judge on the print alone and not the standard of mounting, a neat mount looks good.
What size of print is best?
- Some members try to crop their images to standard ratios eg 4:3, 3:2 and 1:1 and cut the mount windows accordingly which equates to 18 x 12”, 16 x 12” and 12 x 12”. This gives a greater likelihood of being able to recycle mount boards. With these sizes the print sits comfortably into the standard size mount boards we have to use.
- Others prefer to crop the image to whatever they feel looks best but then the mount will have a non standard window
- Some prefer to centre their image, but others like to have a slightly deeper bottom margin so place the image more to the top.
- Attending print exhibitions is a great way of looking at prints and how they’ve been presented.
- A great opportunity to do that comes at Midphot. Even better, it will be a chance to spot our own members images!!